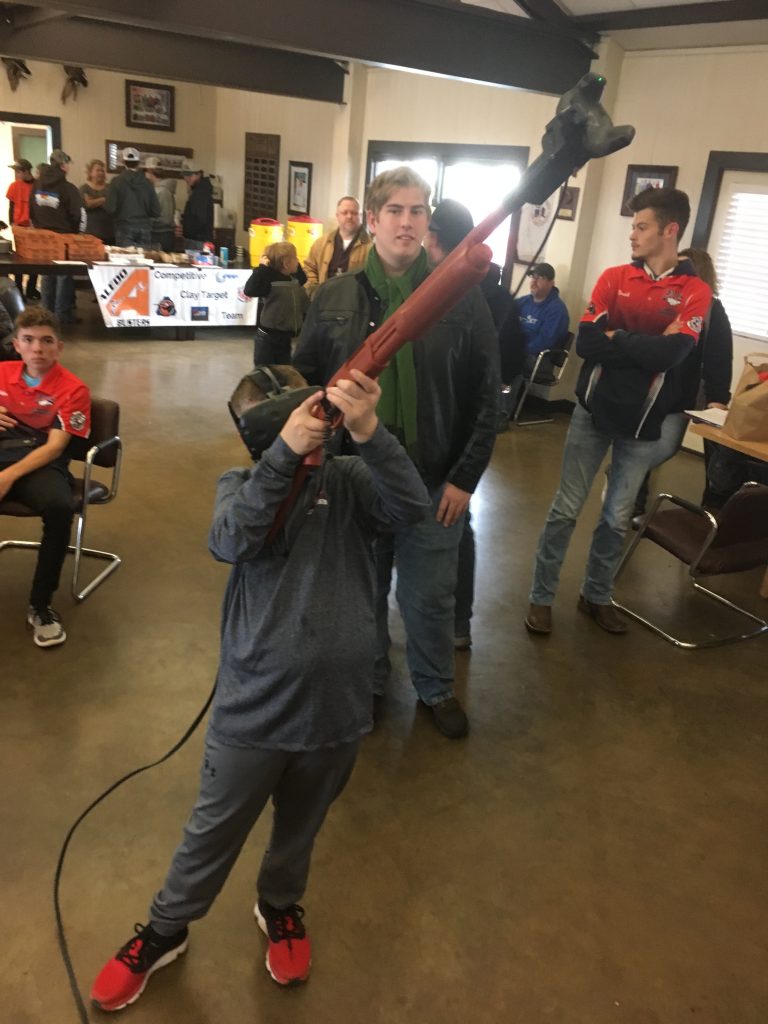
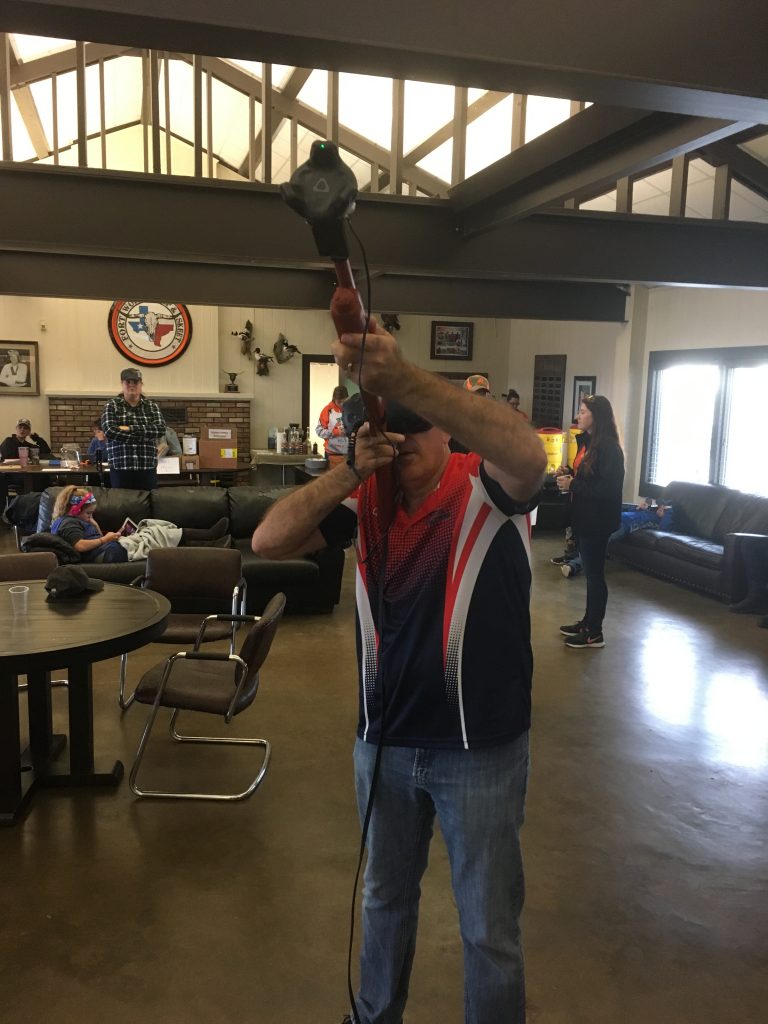
Dozens of shooters have field tested the VR gun controller. This is our first full written review by an independent tester.
“I had the opportunity to try the Clazer beta gun tracker. This used one of the HTC Vive Tracker pucks attached to a custom gun mount and trigger. The setup was simple and was just the Vive tracker setup. The adapter fit on the gun well.
Tracking
The tracking was amazing. Putting the tracker on my gun, then lifting the headset to compare the virtual to real – it was perfect. My 12 gage is 32 inches and the vr gun seemed shorter so the gun was pushed out a bit. However, I am told that will be adjustable in the future.
(The VR gun is a 30″ 686 Beretta, so as David notes, the overall length of the VR gun has to be adjusted in the game in order for it to appear correct when mounted CN)

Gameplay
The realism is amazing. Using your actual skeet shooting gun made the game just that much more real. When I shoot clays in real life and in the game, I start with a lead on the house. When the clay is thrown, I maintain that lead adjusting as needed before the break. Without the weight of the gun, this is no problem. However, with the full weight of the gun it is exactly like real life. Proper swing is now part of the game.
Play space
I wondered if I would hit my walls and celling with this. However, surprisingly I never did. The ViveTracker puck will trigger the chaperone and station 8 I had to be aware but did not have to adjust my shooting to get either house. I did find I needed to rest a bit between stations and or games. How often to you get access to a skeet filed with unlimited ammo and now one in front of you. The gun gets heavy.
(Two comments – I have hit the ceiling with the gun controller on a 30″ barrel in overhead shots, but I am 6’6″. As other shooters have noted, when you shoot clay after clay continuously in VR practice mode, an 8 pound gun gets heavy ! CN)
In conclusion
Clazer without the gun controller is very good at teaching you the sight picture to properly lead targets. With the gun controller, it improves your gun handling skills and swing. One without the other is still very helpful but combine them and you have a full simulation like nothing I have ever used before. It was also very nice to have an entire full size Skeet shooting field in my basement that is so close to the real thing. The clay shooting sports are one of the very few sports you can simulate in VR almost 100%.
David Drysdale”
David was an “early adopter” of Clazer and he “gets it” completely. As other early adopters have realized, simply pointing at the correct lead with the hand controllers is good practice, adding the tracker to your own gun just makes it all that much more real.

